Harvesting Seeds
Harvesting seeds is another important part of your seasonal garden calendar! If you enjoyed your flowers and would like to plant them again somewhere else, you can simply save some seeds for next year, especially if they were hard to come by initially.
There are a few key points to keep in mind when harvesting seeds:
Choose the Right Plants: Avoid hybrid varieties, as their seeds may not yield consistent results.
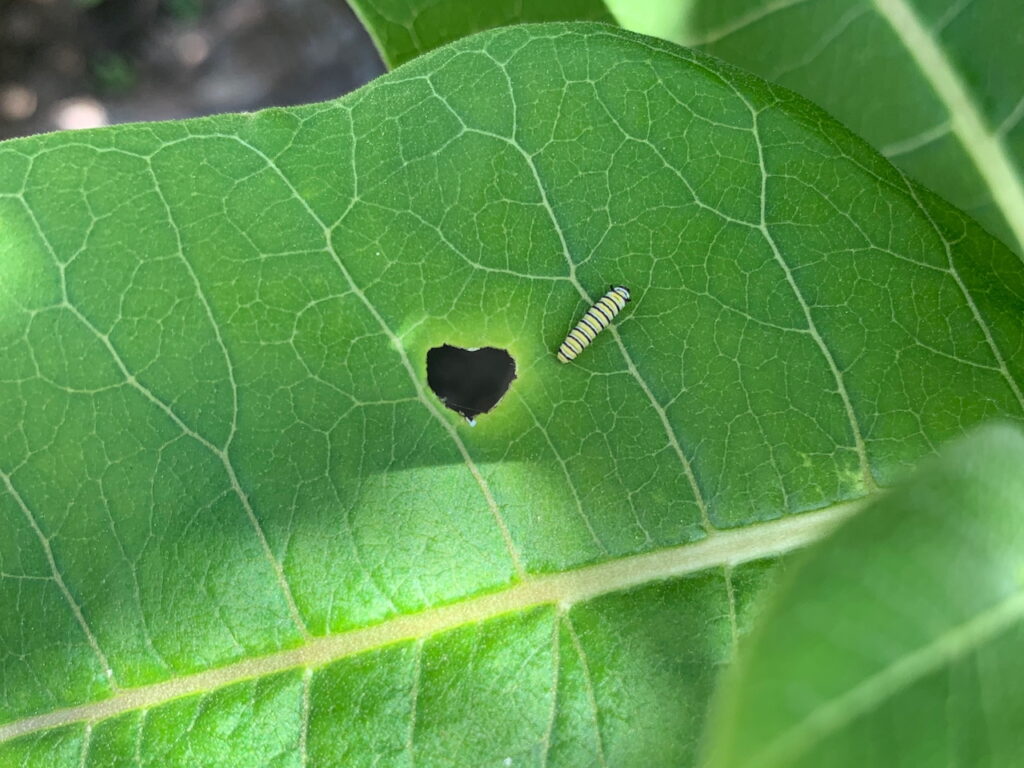
Timing: Harvest seeds when they are fully mature. This usually means waiting until the fruits or seed pods are completely ripe. For most flowers, allow the seeds to dry on the plant before collecting them, for example milkweed seeds.
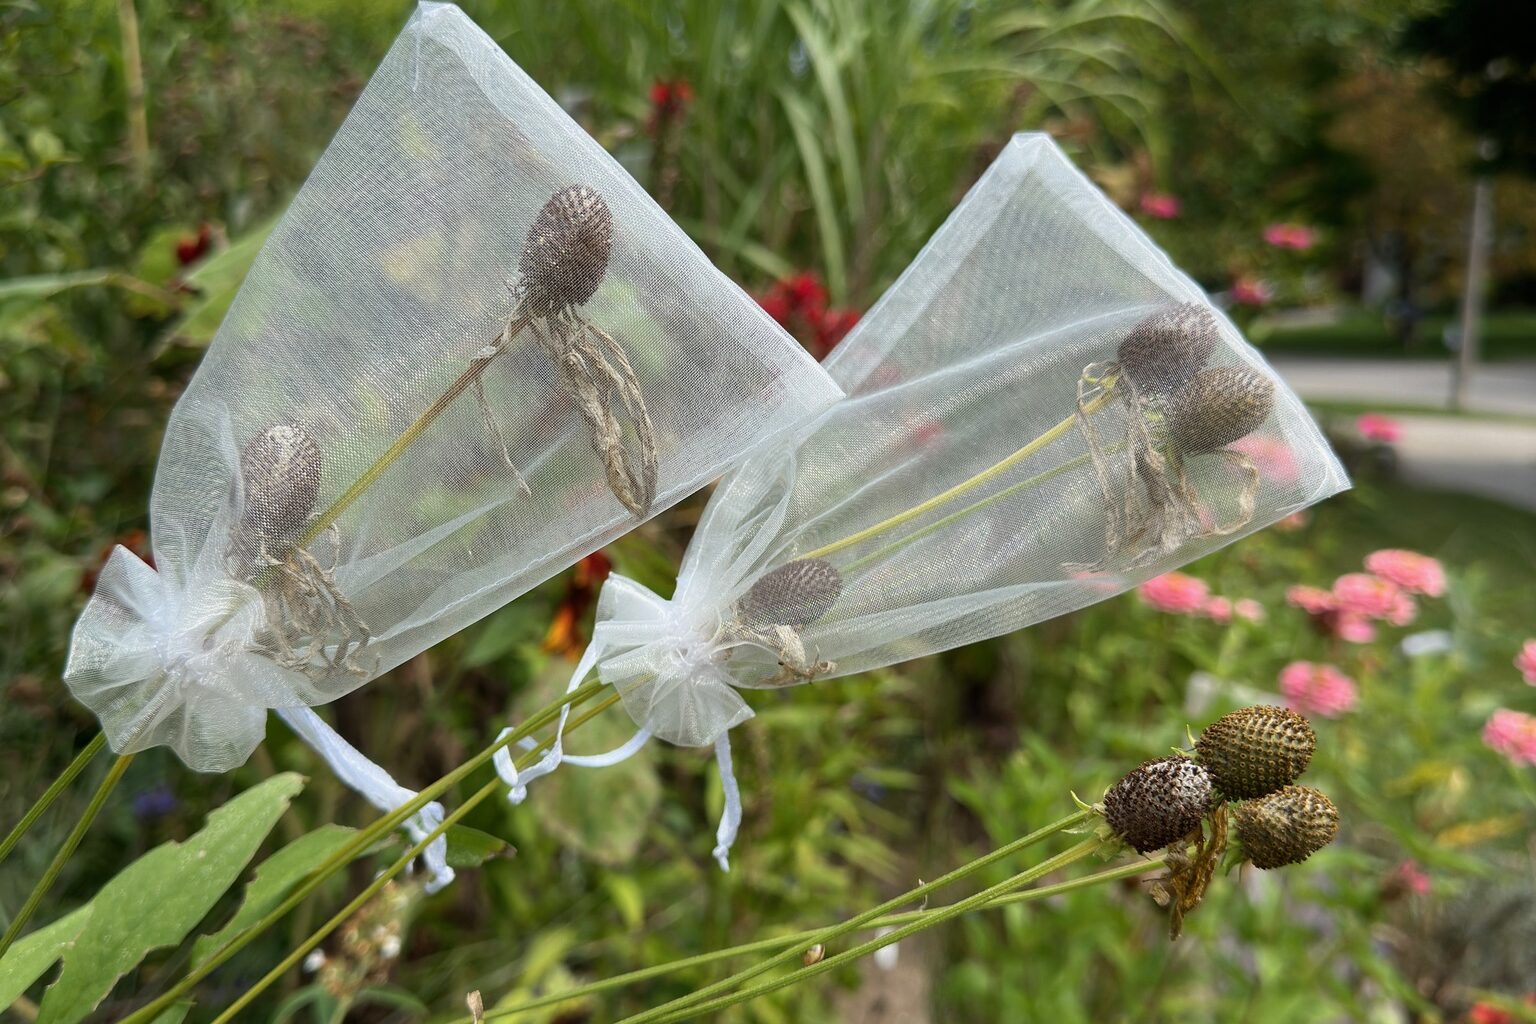
Collection: Carefully extract the seeds from the plant, ensuring they remain undamaged. Others you can gently shake to collect the seeds into a container. Our tried and tested method for collecting native flower seeds involves placing small white fabric bags (e.g., small white wedding favour bags) over the dying flower heads and seedpods. This approach protects the seeds from birds and squirrels and prevents seed dispersal, as some native species are known to catapult their seeds when they mature.
Seed Processing: There are three types of seed processing options to consider:

Dry Seed Processing
For seeds that grow on the outside of plants:
- Allow the seeds to dry on the plant, then collect the seedpods before they break open.
For plants with seeds that develop in the centre of the flower:
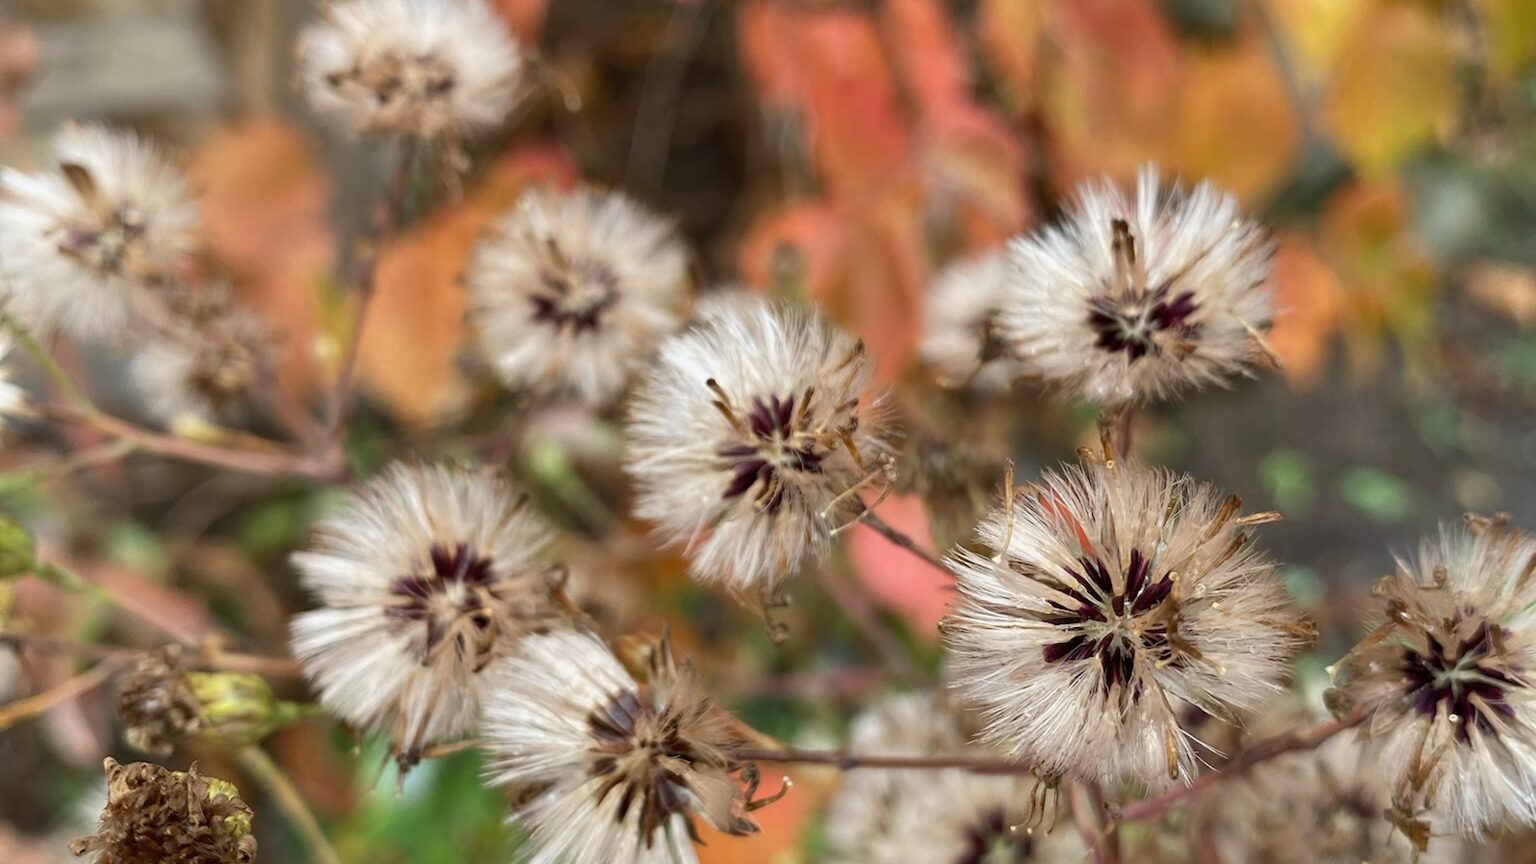
- Allow the plant to dry, and harvest the seeds when the seed head turns brown. To avoid mold and reduce additional drying time, collect seeds under dry, warm conditions.
Examples: Echinaceas, Cardinal Flower, Prairie Smoke, Black Eyed Susan, Yellow Coneflower, etc.
Wet Seed Processing
While many native plants produce seeds that dry naturally on the plant, others form fleshy fruits or sticky, mucilaginous seed coats that need a different approach. This is where wet seed processing comes in. It sounds technical, but it’s simply the process of removing pulp, sugars, and natural germination inhibitors so the seeds can be stored safely without molding.
Wet processing is especially important for species with berries, drupes, or soft seed coverings, common in our Carolinian forest and home gardens alike.
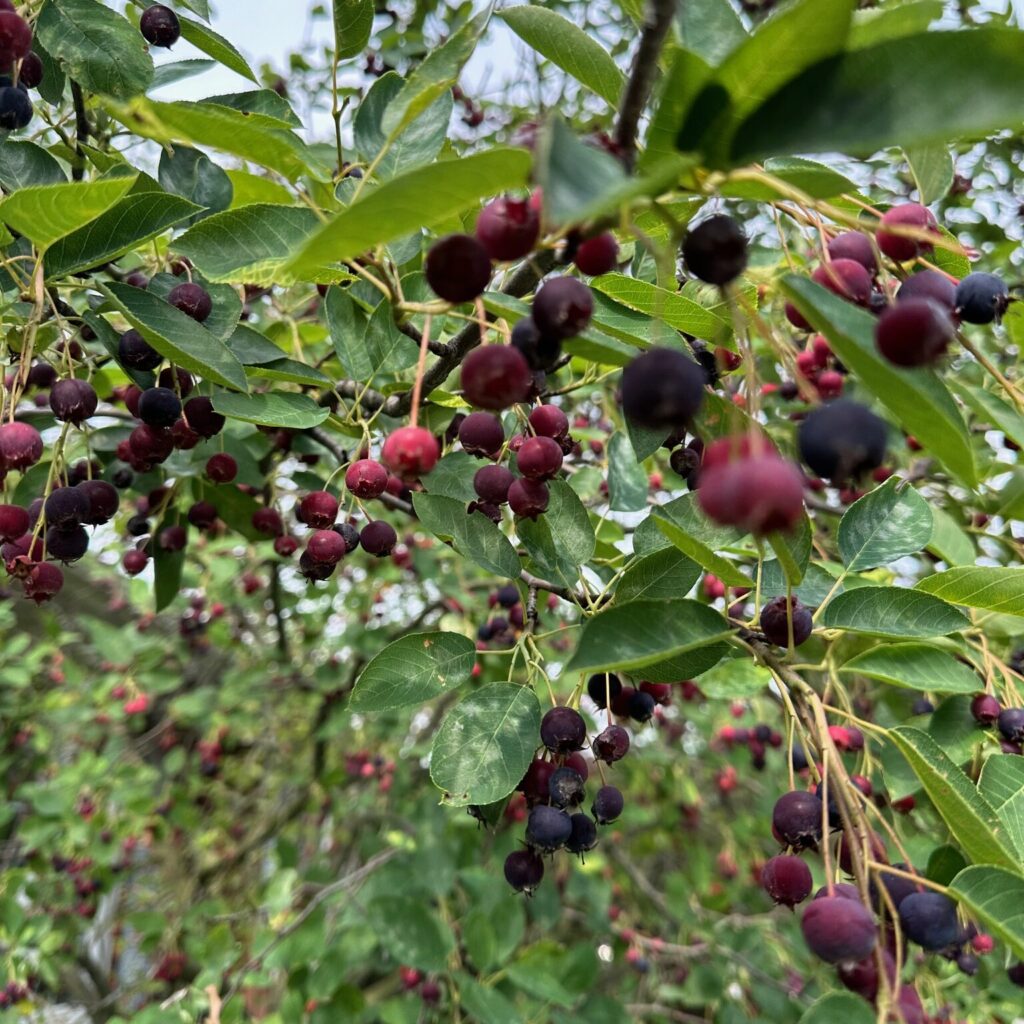
- Collect ripe fruits. Harvest fruits only when they are fully mature. Ripe fruits usually come off the plant easily and have reached their final colour (for example, deep purple elderberries or bright red dogwood berries).
- Separate the seeds from the pulp. Place the fruits in a small bowl of water and gently mash them. The pulp and debris usually float, while the viable seeds sink. Pour off the floating material and repeat until the water is mostly clear.
- Remove mucilage or seed coatings. Some species (like wild ginger, bloodroot and blue flag iris) develop a slippery gel around the seeds. A brief soak and gentle rubbing between your fingers helps remove this coating so the seeds can dry properly. Although we found we had better success with planting these seeds right away.
- Rinse and strain. Pour the cleaned seeds through a fine mesh strainer and rinse thoroughly. Removing all sugars is important, leftover pulp is the main cause of mold during storage.
- Dry the seeds completely. Spread the seeds on a paper towel, coffee filter, or fine screen in a warm, airy place. They must be fully dry before storing, unless they are a species that requires immediate moist stratification.
Scarification (Light Seed Abrasion)
Some native seeds have very hard outer shells that protect the embryo but also make it difficult for water to penetrate. These seeds may need a little help before they can germinate. This process is called scarification, and it simply means gently scratching or thinning the seed coat so moisture can reach the inside.
How to Scarify Seeds
- Use a small piece of sandpaper, a nail file.
- Gently rub the seed until you see a slight change in colour on the surface. You’re thinning the coat, not breaking through it.
- Only scarify the seed coat, never the inner seed.
- After scarification, seeds usually need moist cold stratification to complete their dormancy cycle.
When Scarification Is Needed
Scarification is helpful for species with thick, impermeable seed coats, such as Pawpaw, Kentucky Coffee Tree and Redbuds.
Why Scarification Matters
- Helps water enter the seed
- Speeds up germination
- Mimics natural processes like freeze–thaw cycles, soil abrasion, or passage through an animal’s digestive system
Drying: Thoroughly dry the seeds to prevent mold during storage. Spread them out on a paper towel or screen in a well-ventilated area away from direct sunlight. Drying can take several days to a week.
Storage: Store seeds in a cool, dry place. Use airtight containers, such as glass jars. Some people prefer plastic bags, but we opt for paper bags to avoid trapping moisture, which can lead to mold and mildew growth. Seeds need to be kept in a cool, dry environment to maintain their viability, and plastic bags can create a humid environment if any moisture is present. Label them with the plant type and harvest date. You can also add a silica gel packet or some rice to absorb any excess moisture.
Viability: Keep in mind that seed viability decreases over time. Use older seeds first and rotate your stock. Some seeds can remain viable for up to 5 years if stored properly.
Testing Germination: Before planting, you can test seed viability by placing a few seeds on a damp paper towel in a plastic bag. Check for germination within a week or two.