Thinning and/or Transplanting Seedlings
Thinning seedlings is an essential gardening step for several reasons:
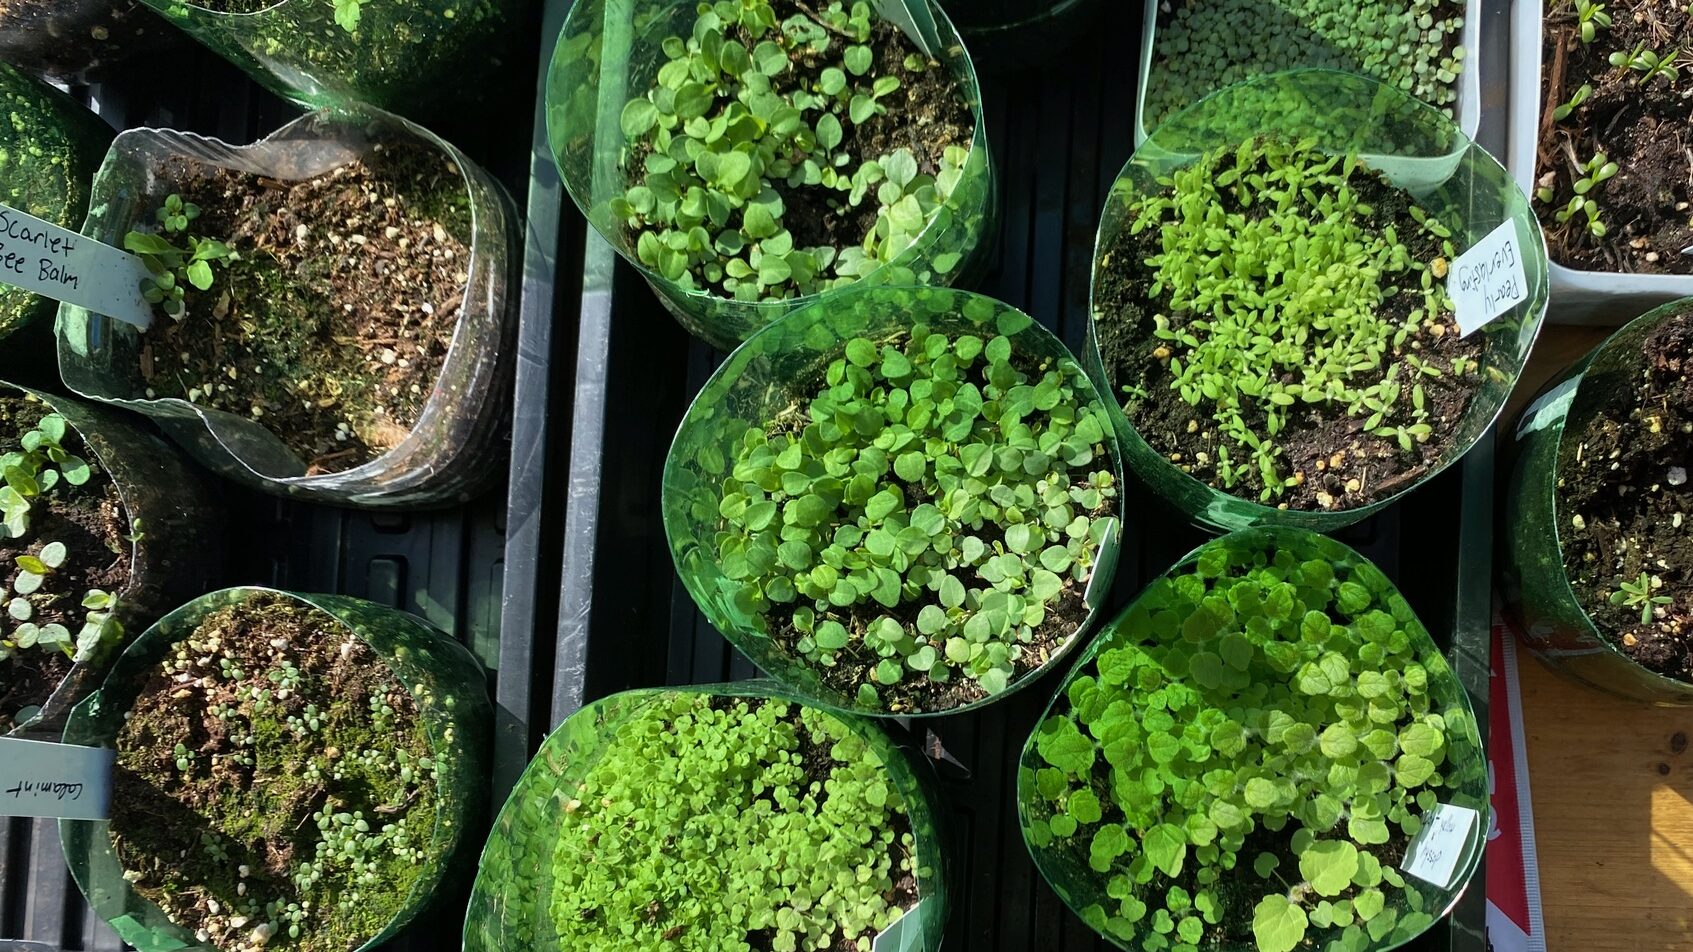
- Healthier Plants: When seedlings are packed tightly in a tray or pot they will compete over resources like water, nutrients, and sunlight. Thinning them out is like giving each plant its own luxury penthouse suite, ensuring they grow strong and healthy.
- Better Airflow: Adequate spacing improves airflow around the plants, reducing the risk of fungal diseases and promoting overall plant health.
- Stronger Roots: With more space, seedlings can develop stronger root systems, leading to more robust and resilient plants.
- Improved Harvest: For native fruits, thinning can lead to higher yields and better-quality produce since each plant has the room it needs to flourish.
- Preventing Overcrowding: Overcrowded seedlings can lead to weak, spindly plants that are more susceptible to pests and diseases.

Here’s a step-by-step guide to thinning your seedlings:
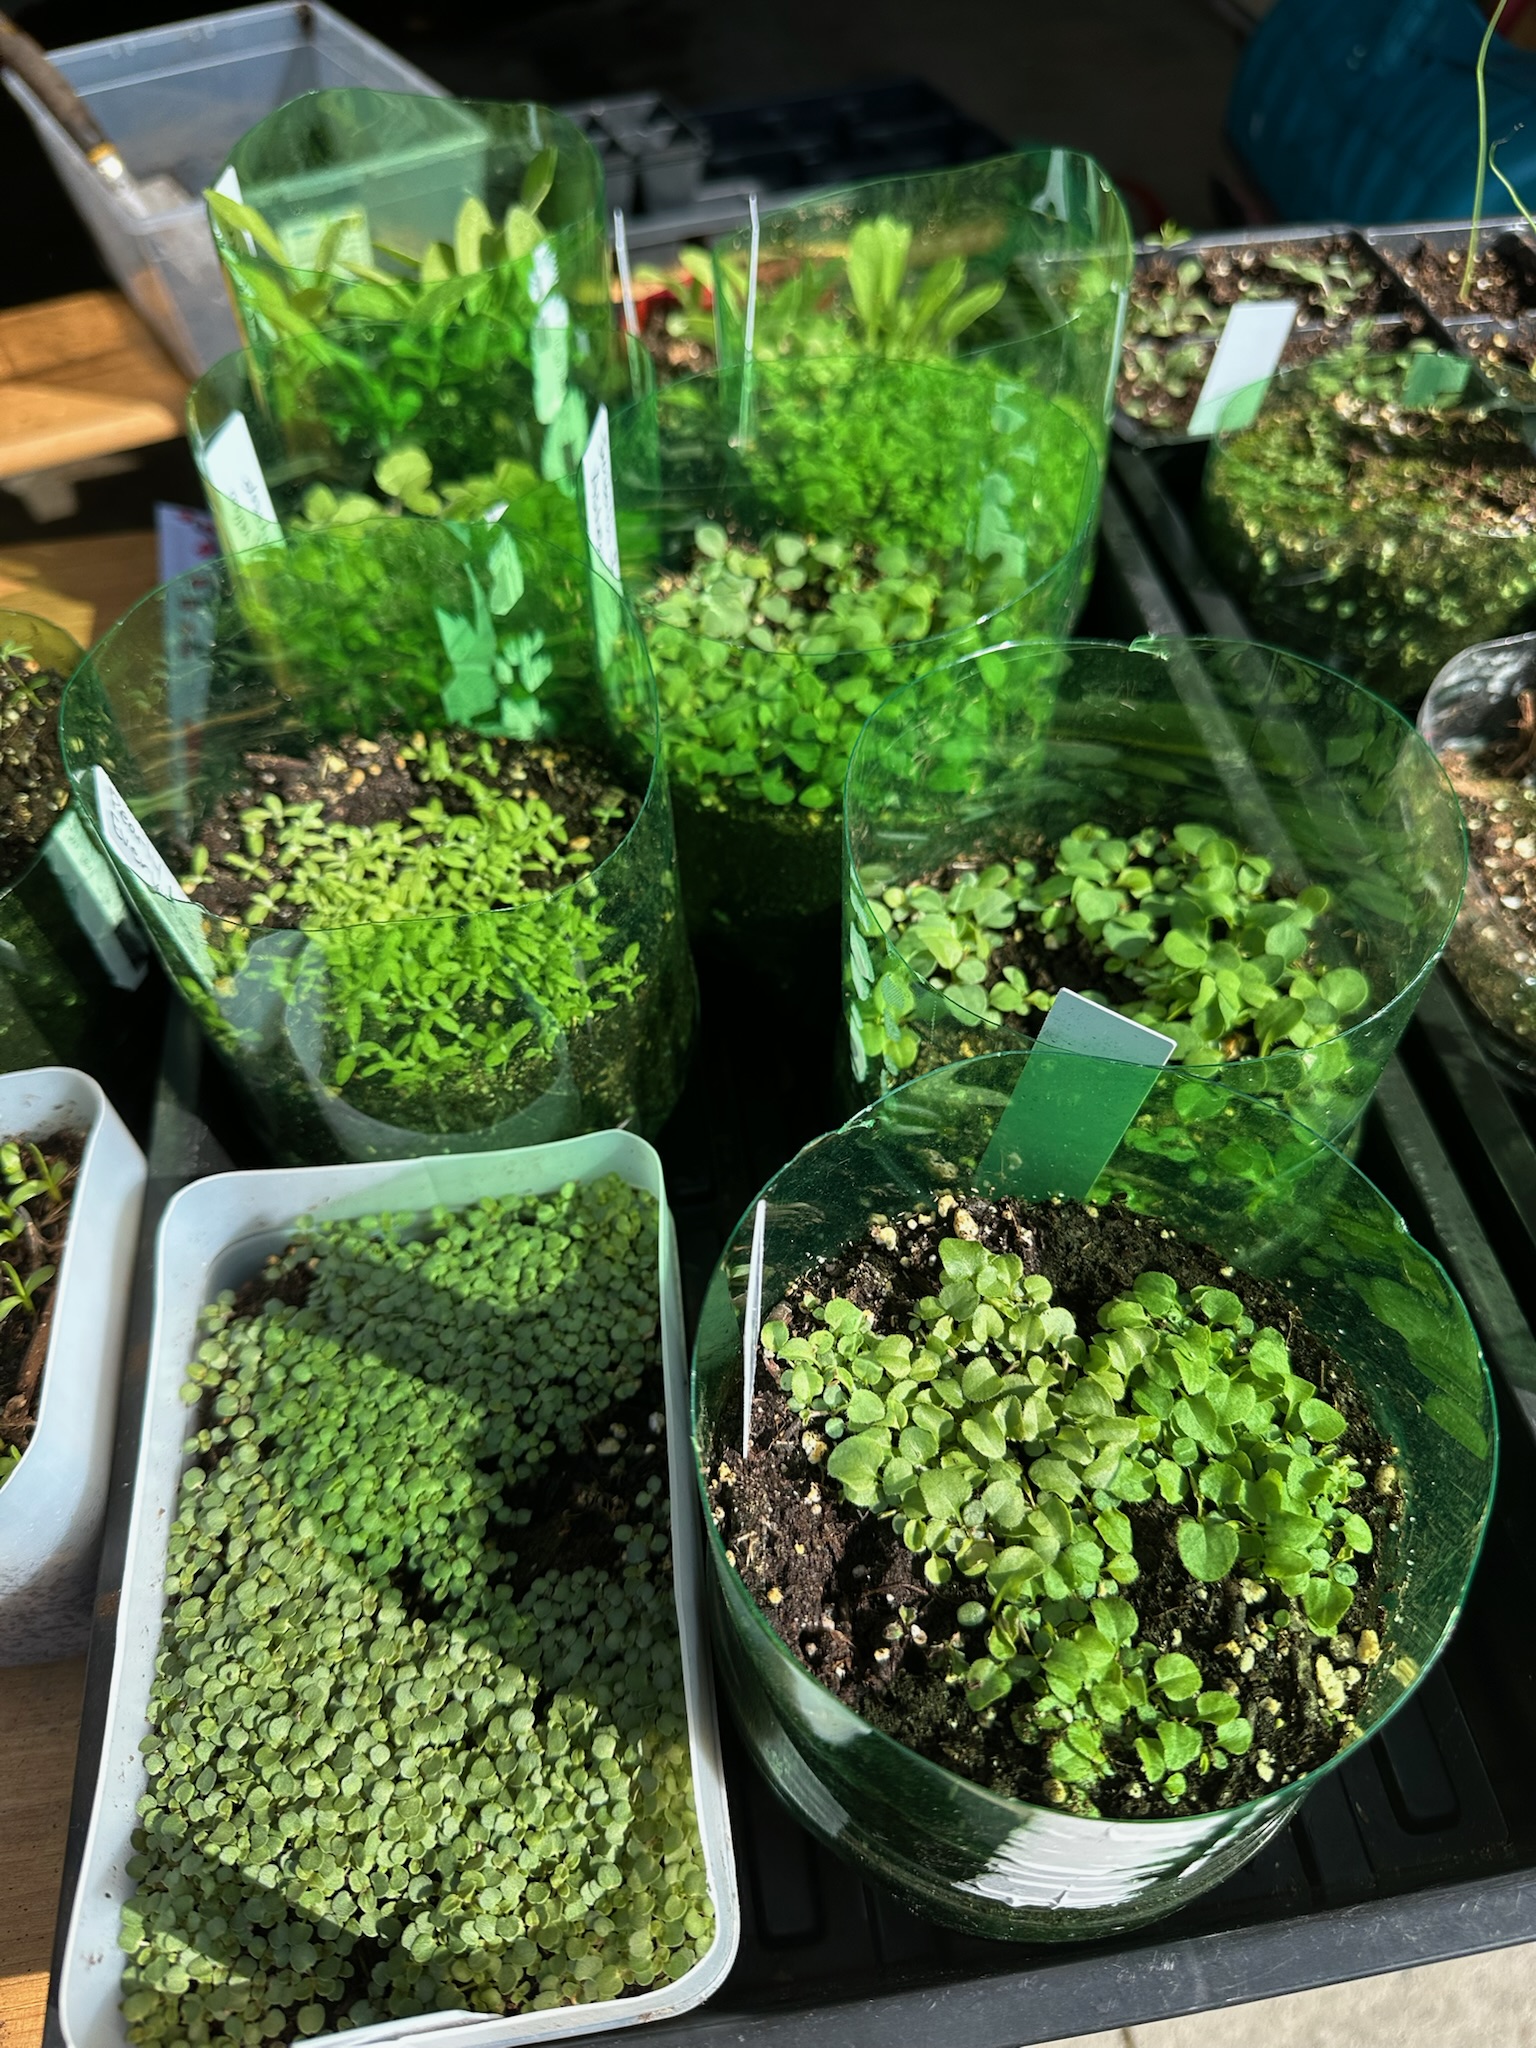
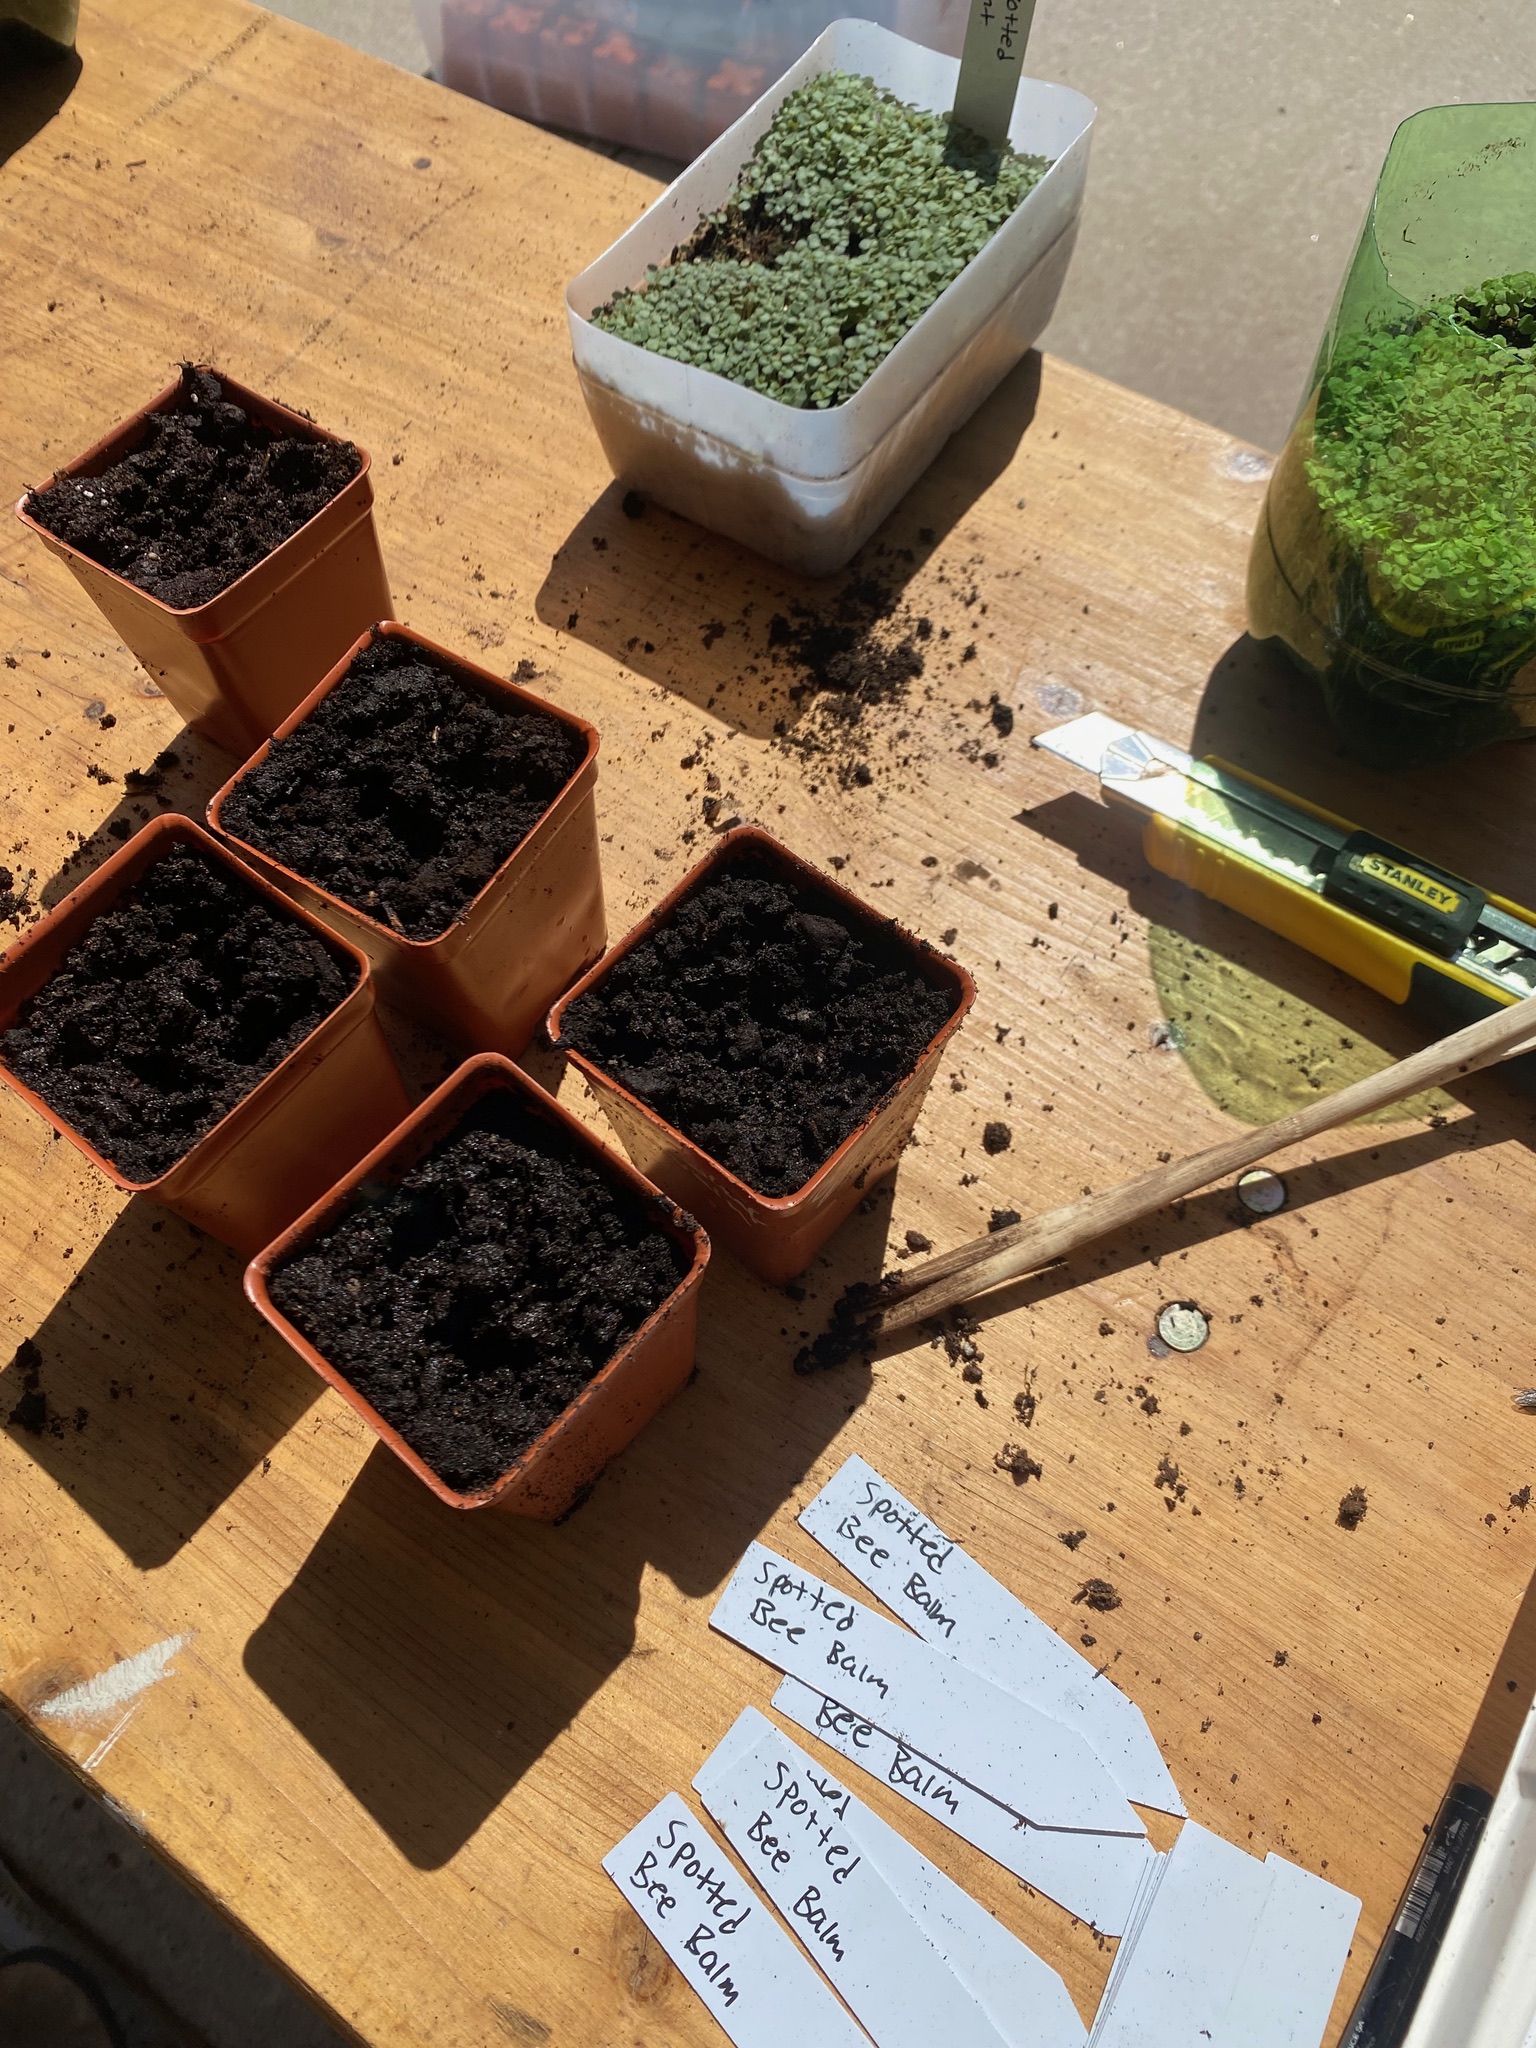
- Identify Crowded Spots: Look for areas where seedlings are growing too closely together.
- Select the Strongest: Choose the healthiest, strongest seedlings to keep. They’ll be the ones with sturdy stems and vibrant leaves.
- Remove the Extras: Gently pull out the weaker seedlings. You also can use small scissors to snip them at the soil level to avoid disturbing the roots of the remaining plants.
- Space Them Out: Ensure the remaining seedlings have enough space to grow. The ideal spacing will depend on the plant type, but generally, you want each seedling to have a bit of breathing room.
- Water and Care: After thinning, give the remaining seedlings some water and continue to care for them as usual.
Thinning might not always be enough to give your seedlings the space they need to thrive. Here’s how to determine if it’s time to go beyond thinning and start transplanting.
Signs You Should Transplant:
- Severe Overcrowding: If your seedlings look like they’re competing in a plant version of a sardine can contest, it’s probably time to transplant.
- Slow Growth: If your seedlings are growing at a snail’s pace despite thinning, they may need more space and nutrients than thinning alone can provide.
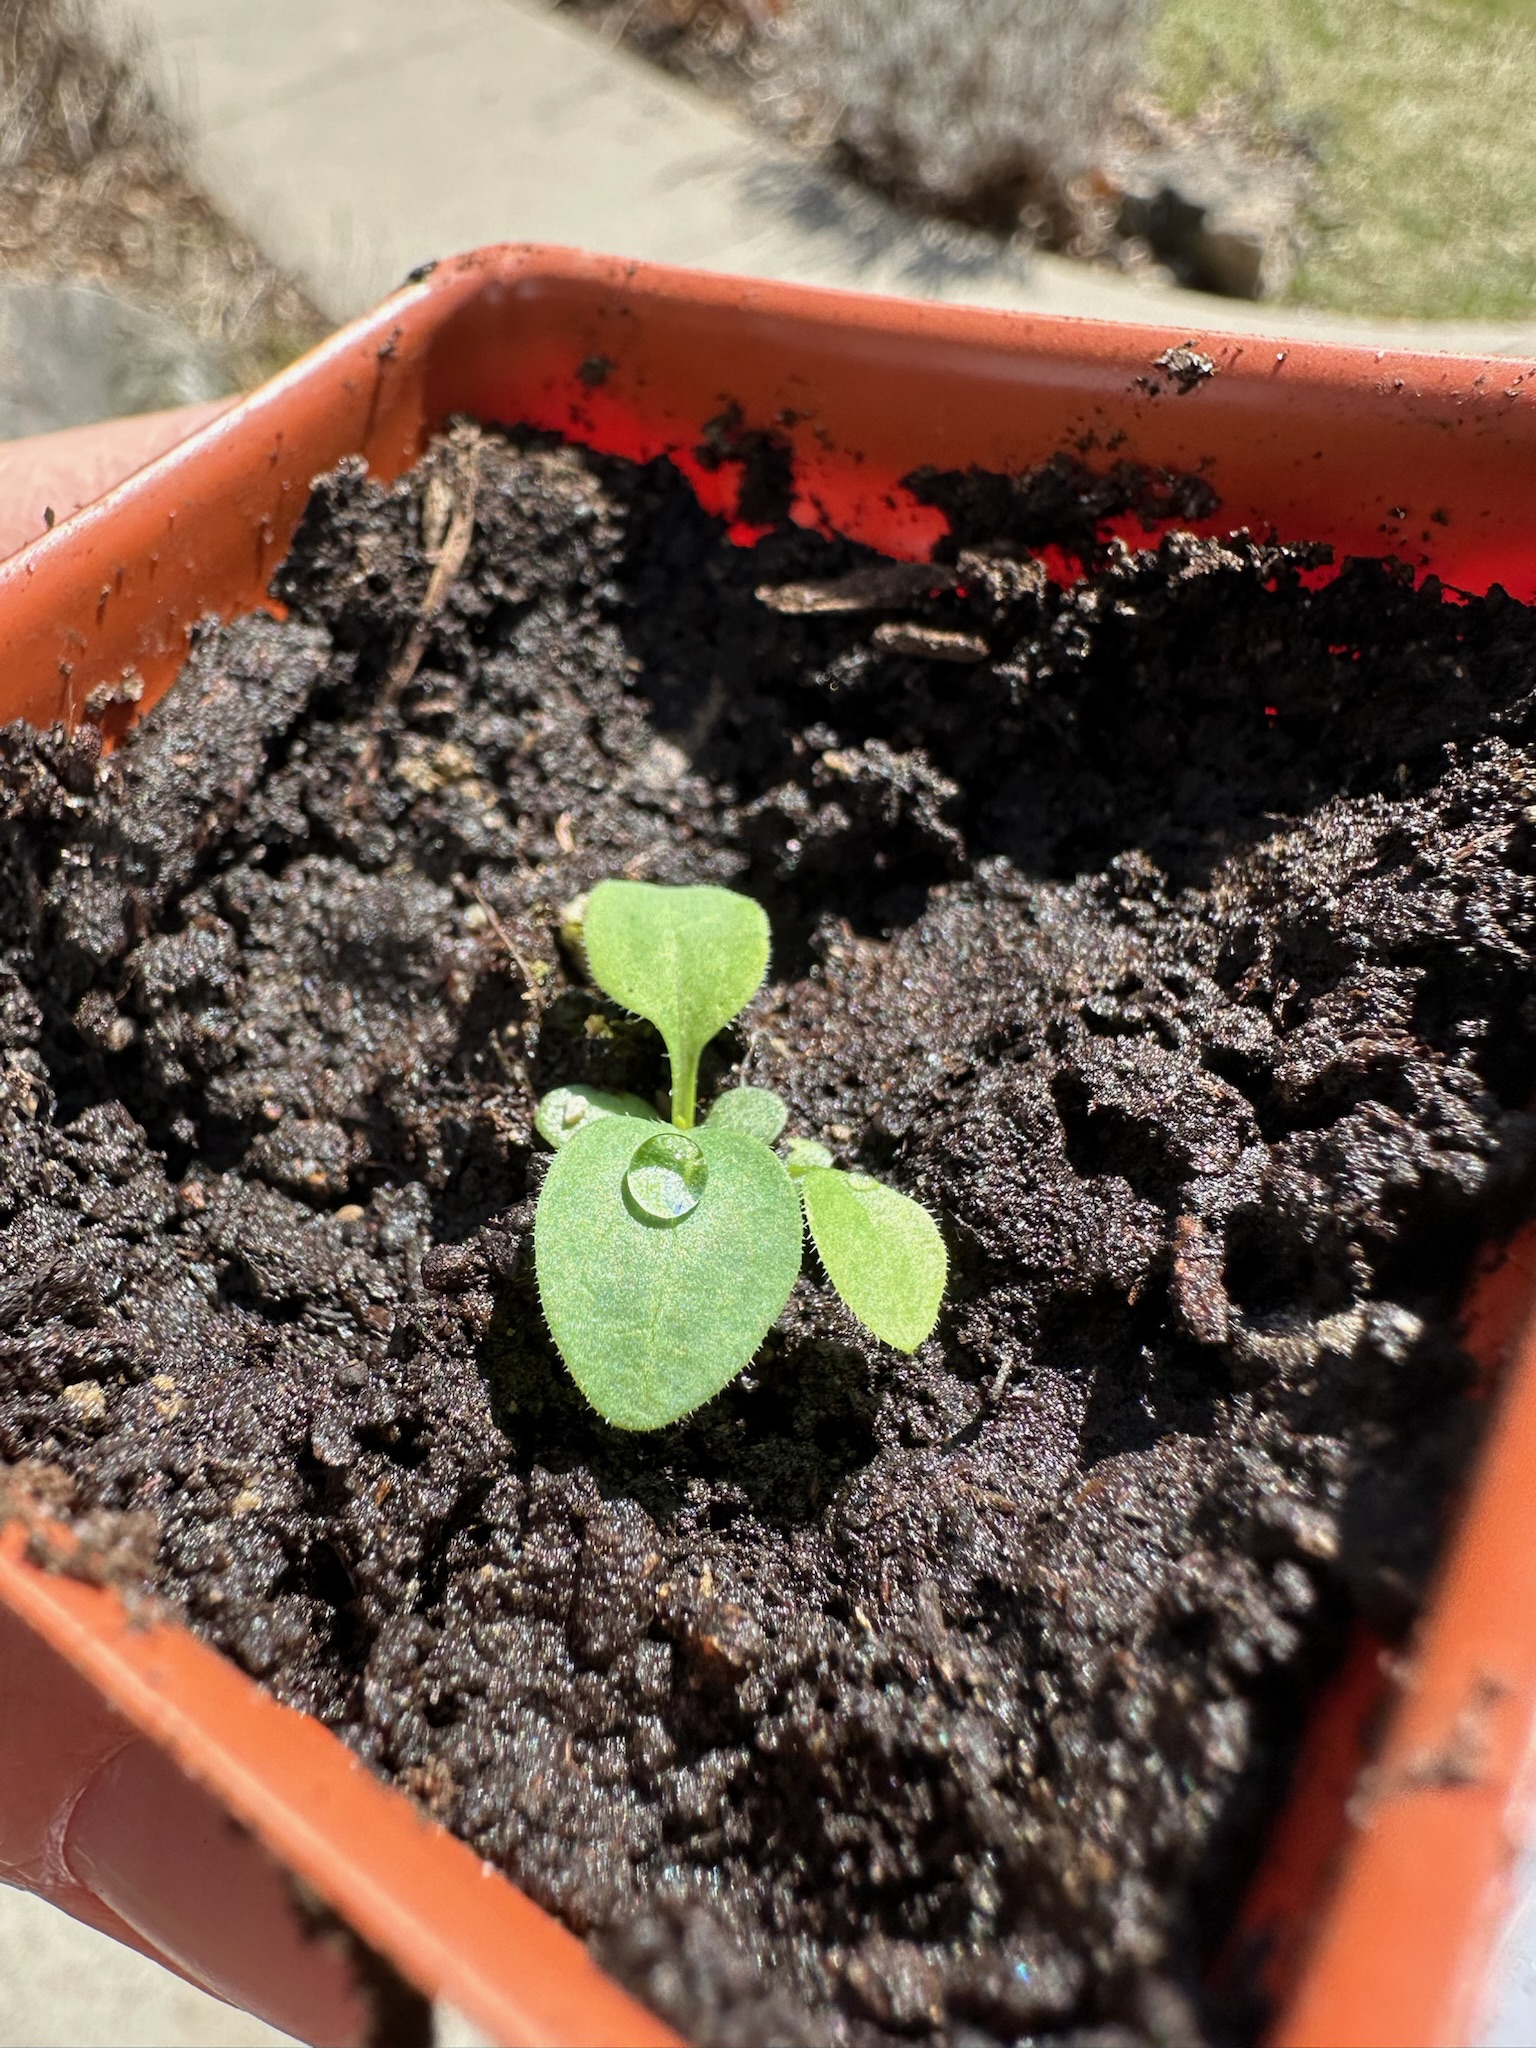
- Transplant to Real Soil (or Lightly Feed): If your seedlings are growing slowly even after thinning, they may have simply used up the limited nutrients in the seed-starting mix. Seed-starting mixes are designed for germination, not long-term growth, and they contain very little nutrition. Native seedlings don’t need rich soil, but they do benefit from being moved into real garden soil, even clay-based soil, once they have a few true leaves. If transplanting isn’t possible yet, you can offer a very diluted, balanced fertilizer to support healthy growth. Use a gentle hand, as over-fertilizing can harm young native plants.
- Yellowing Leaves: This can be a sign of nutrient deficiency, indicating that your plants are competing too hard for resources.
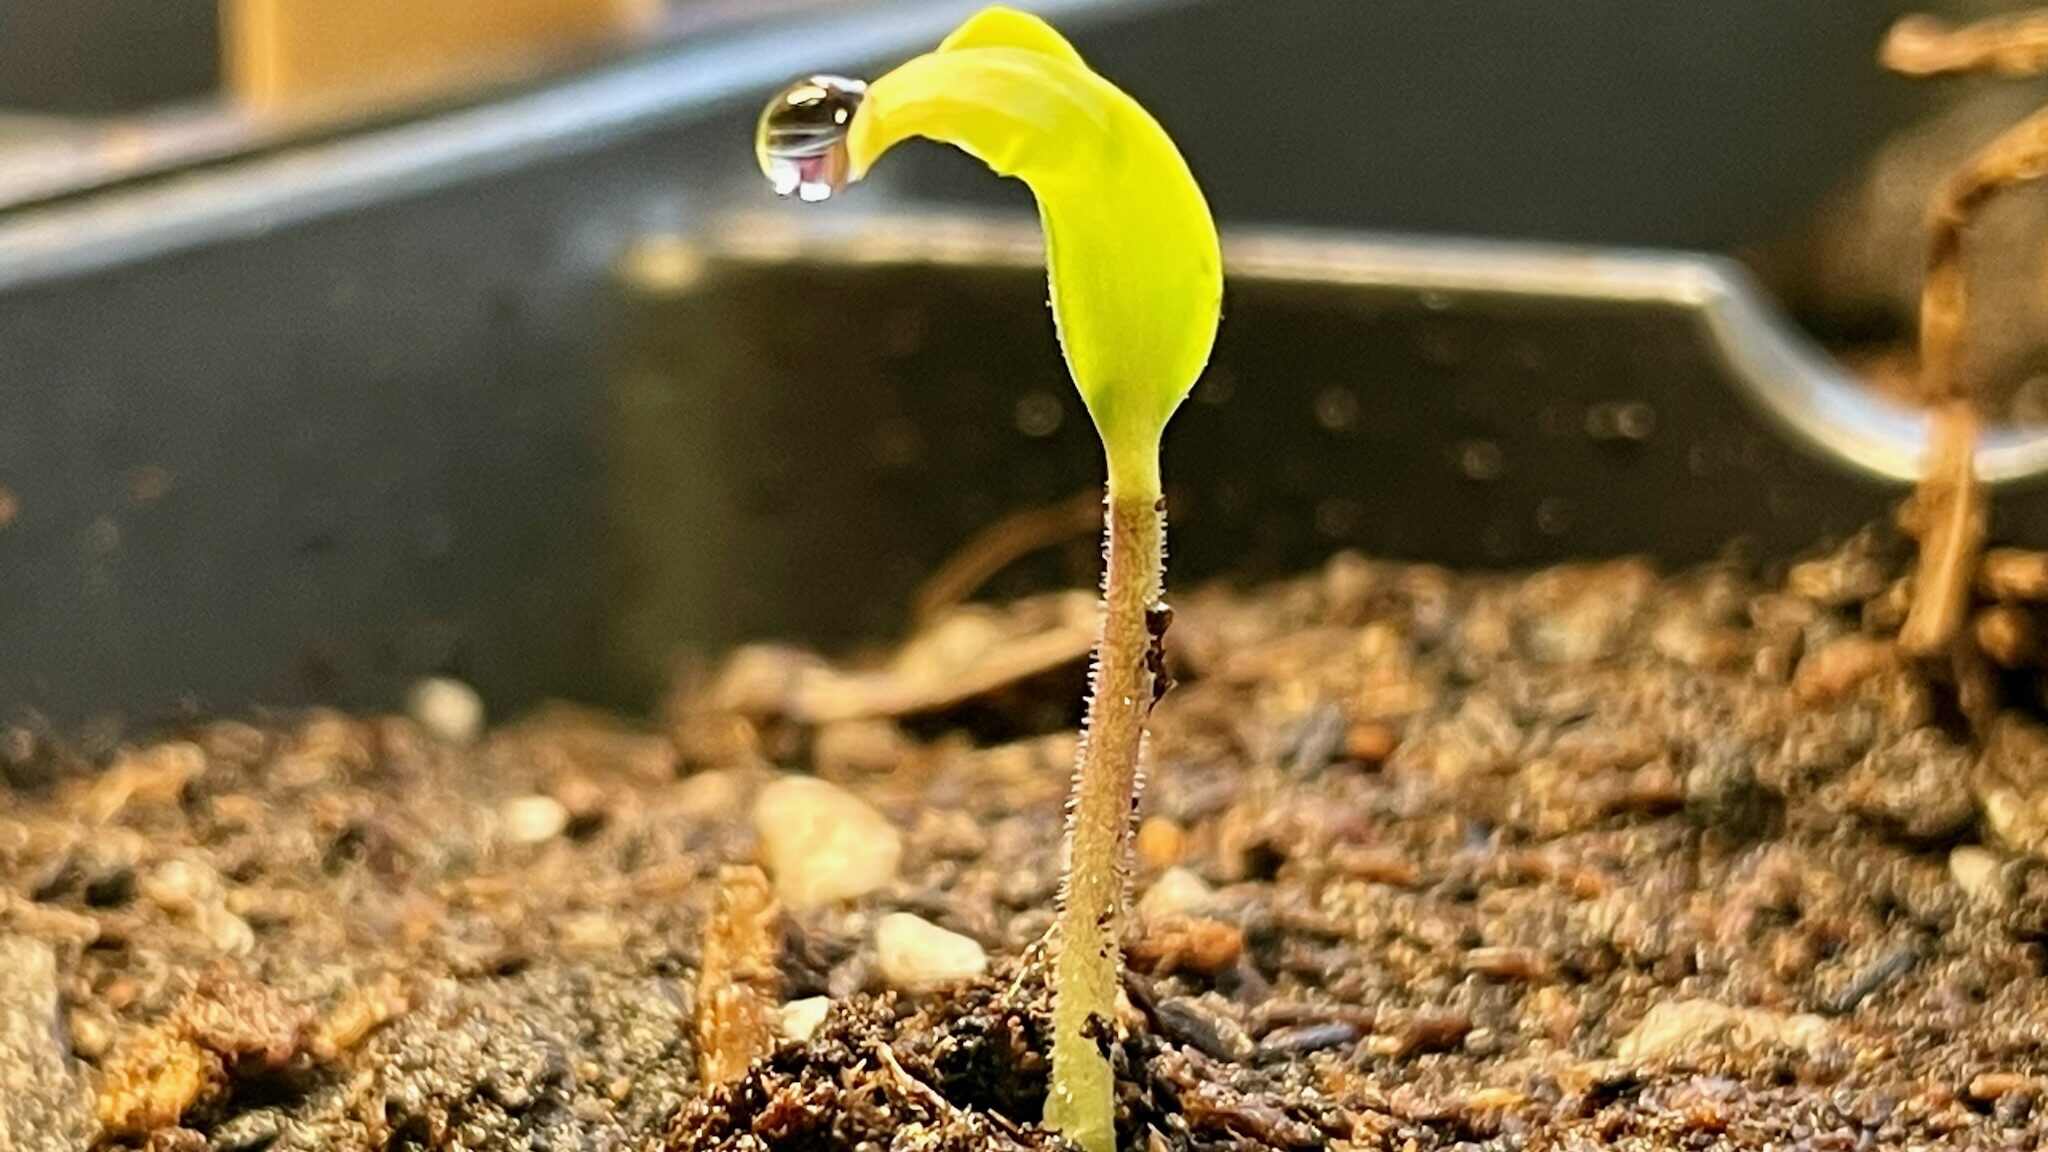
- Leggy Seedlings: If your seedlings are tall and spindly with weak stems, they might be stretching for light and would benefit from more space and better light exposure.

How to Transplant Seedlings:
- Check The Weather: If you are transplanting winter sown seedlings in the early spring, we recommend choosing a warm day. Seedlings can easily go into transplant shock if the conditions aren’t right. Doing this on a warmer day can help them settle into their new homes easier and with less stress.
- Prepare the New Home: Choose a larger container with enough space for each plant to spread its roots and thrive. Opt for high-quality soil that’s rich in organic matter and nutrients. Adding compost or well-rotted manure can boost the nutrient content, providing a fertile environment for your seedlings. Good drainage is essential to prevent water logging, which can lead to root rot.
- Hydrate Seedlings Before: Watering your seedlings before transplanting helps them stay resilient and better handle the stress of being moved. Moist soil is softer and more pliable, making it easier to lift seedlings without damaging their delicate root systems. This helps reduce the risk of tearing roots and causing transplant shock. It also ensures that the roots are moist and ready to establish contact with the new soil. This promotes better root-to-soil contact, which is crucial for nutrient and water uptake. A good drink before transplanting will help them settle into their new home more comfortably
- Gently Lift the Seedlings: Use a small tool or your fingers to carefully lift the seedlings from their current spot, taking care not to damage their roots. We love using wooden chopsticks for this delicate task. Hold the seedlings by their leaves, not their stems, to avoid crushing their fragile structures. Remember, gravity can be your best friend in this process, especially if the seedlings have developed a strong root system already.
- Transplant with Care: Dig a hole in the new spot that’s large enough to accommodate the seedling’s root system. The hole should be deep and wide enough for the roots to spread out comfortably without being cramped. Carefully position the seedling in the hole. Make sure the roots are spread out and not twisted or clumped together. The goal is to have the seedling sitting at the same depth it was in its original location. If the seedling was in a pot, aim to have the soil level in the new hole match the soil level in the pot. Gently backfill the hole with soil, covering the roots completely. Lightly press down the soil around the seedling to eliminate any air pockets and ensure good contact between the roots and the soil. Be careful not to compact the soil too much, as this can hinder root growth.
- Water: After transplanting, water the seedlings thoroughly. Transplanting can be a bit traumatic for seedlings. Giving them a good drink helps them settle into their new home and reduces stress. Moisture encourages the roots to grow deeper into the soil, helping the seedlings establish a strong and stable root system. Watering helps to eliminate any air pockets that might have formed during the transplant process, ensuring that the roots have good contact with the soil.
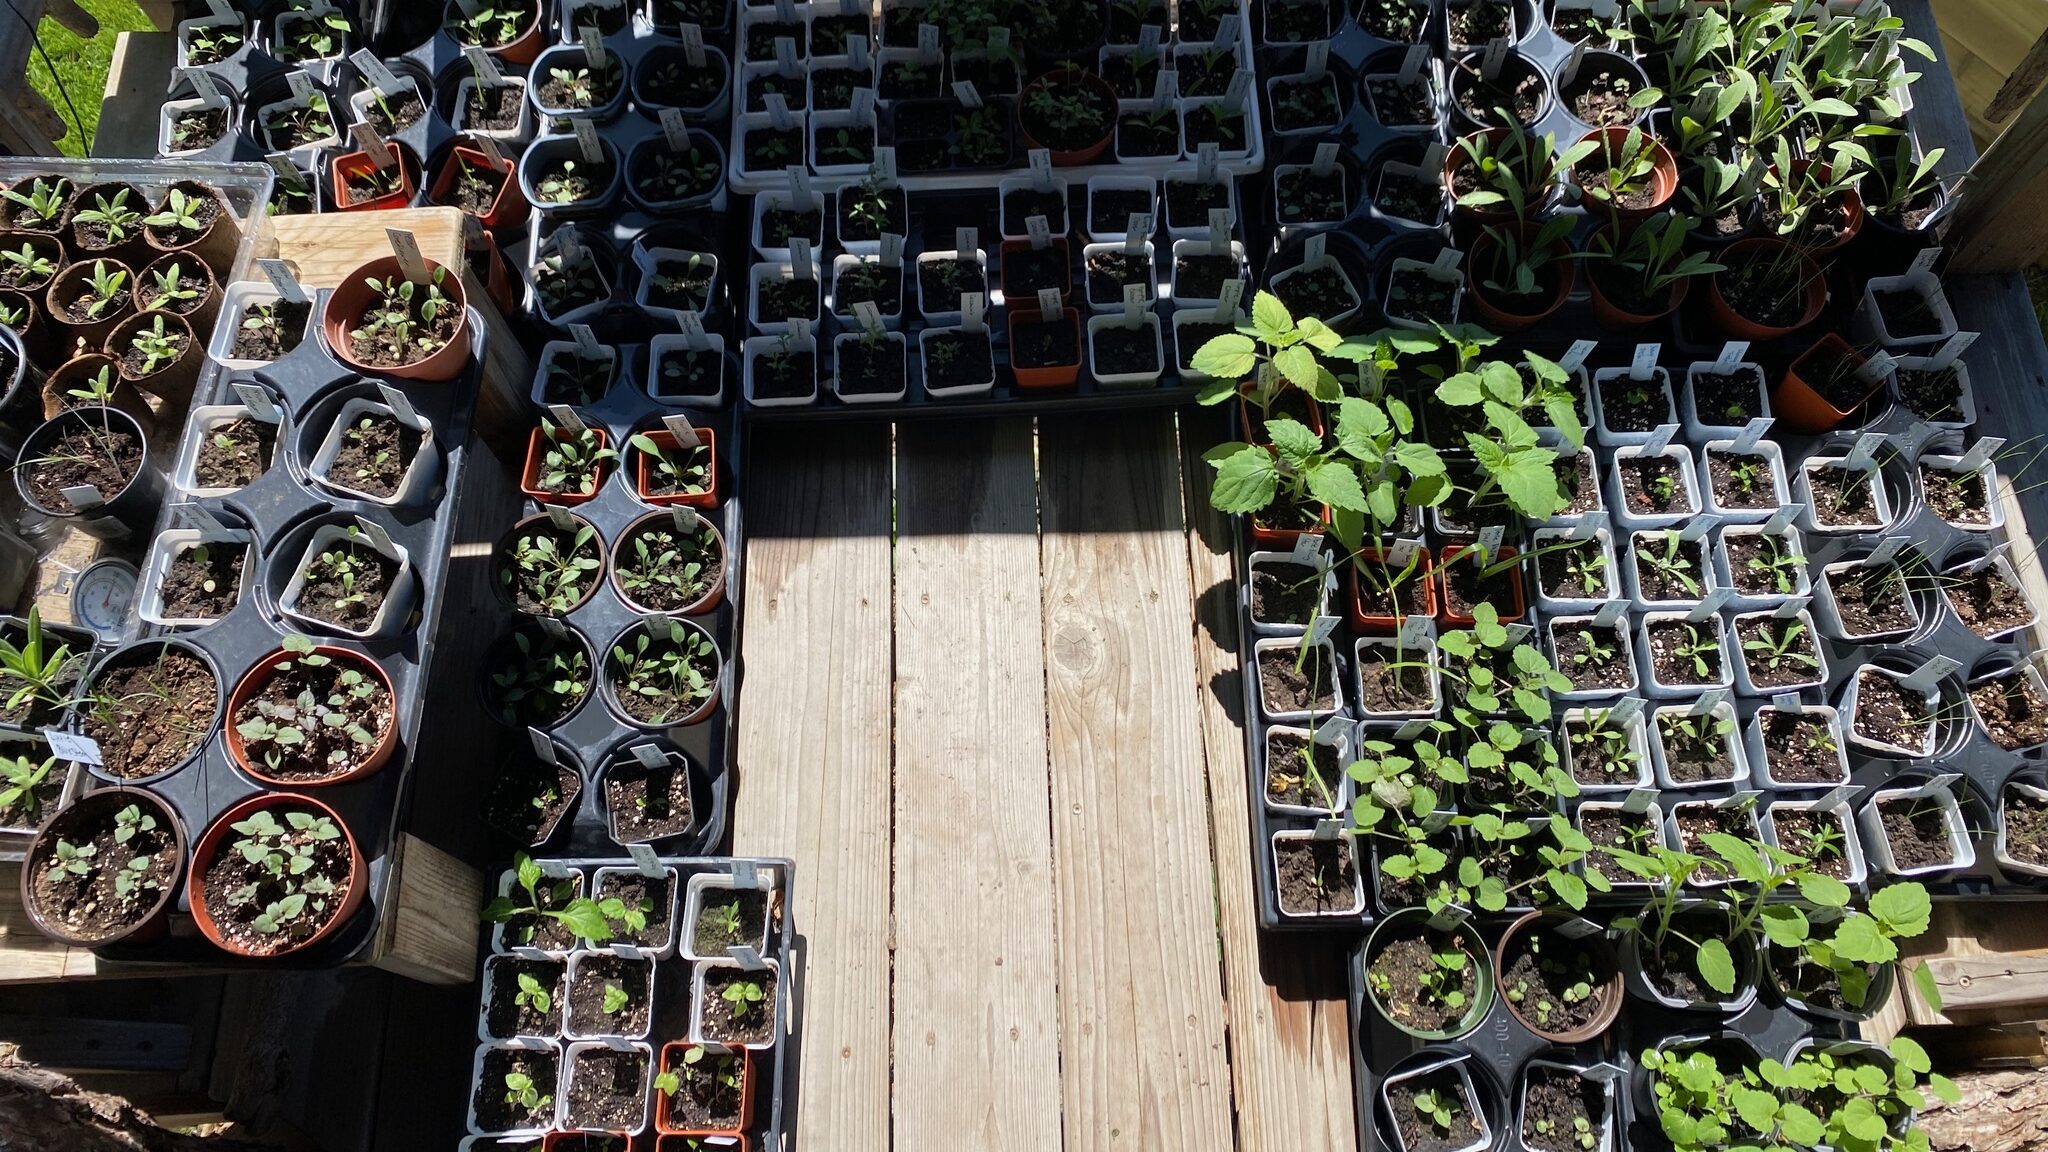
Keep an eye on your transplanted seedlings and continue to care for them as they adjust to their new environment. Before you know it, they’ll be thriving in their new spacious digs!

Transplanting into the garden
Harden Off:
If you brought your winter sown seedlings indoors to speed up the growth, they will need to be hardened off again before planting outdoors. This is to prepare them for the harsher outdoor conditions they will face once transplanted from their sheltered indoor environments.
This gradual process helps them adjust to variations in temperature, wind, and sunlight. Without hardening off, seedlings are more likely to suffer from shock and damage when moved outside, which can hinder their growth or even kill them.
When hardening off plants, it’s important to be mindful of a few key factors to ensure a smooth transition for your seedlings:
- Gradual Exposure: Gradually increase their outdoor time over a week or two, so they toughen up like tiny green soldiers.
- Sunlight: Begin by placing seedlings in a shaded area to avoid direct sunlight, which can scorch their delicate leaves. Gradually introduce them to more sunlight each day. Watch for signs of too much sun exposure: white, yellow, or brown leaves, crispy leaves, curling leaves, and drooping plants.
- Wind: Protect seedlings from strong winds by placing them in a sheltered spot initially. Gradually expose them to breezes to help strengthen their stems.
- Temperature: Be mindful of temperature fluctuations, especially at night. If temperatures drop too low, it’s time to bring those babies inside.
- Watering: Keep an eye on moisture levels. Seedlings may dry out more quickly when exposed to outdoor conditions, so water them as needed to keep the soil moist but not waterlogged. But remember, wilting could mean sun stress, not just a thirst problem.
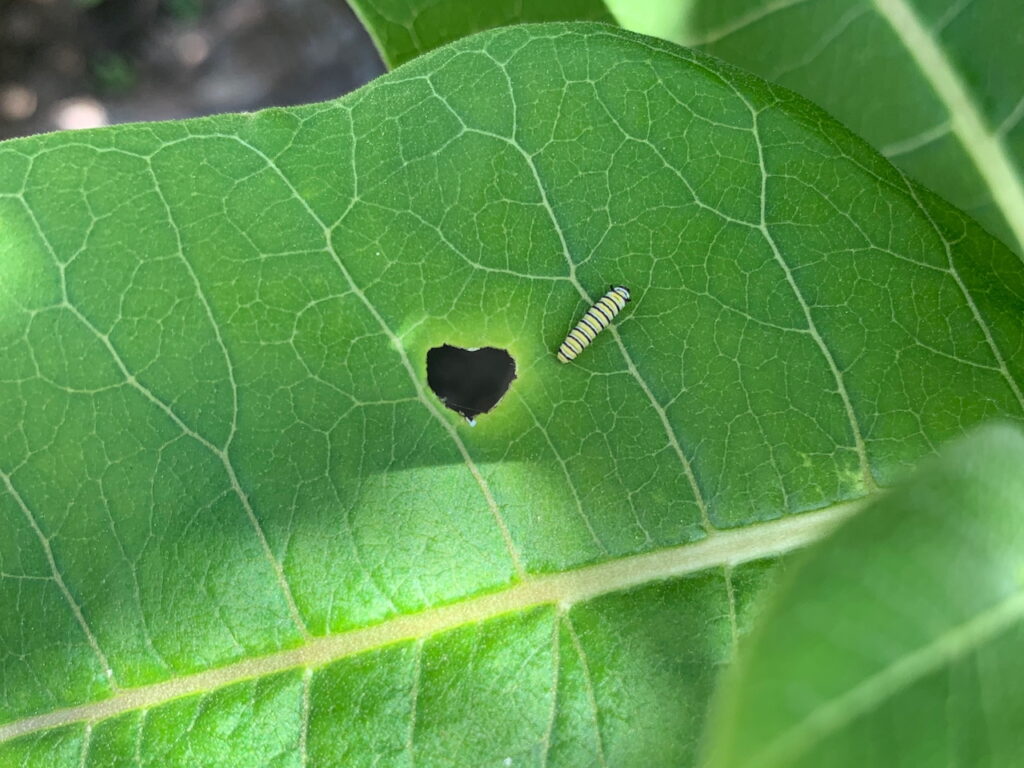
- Pests: Watch out for pests and insects that may be more prevalent outdoors. Check seedlings regularly for any signs of damage or infestation. We love our pollinators, but when planting host plants for butterflies you may find them laying eggs too early and your seedlings get completely destroyed. Some plants may recover, but others won’t.
Watering New Plants:
Watering new plants before transplanting is essential. Planting them in dry soil can put their survival at risk. Moist soil helps ensure a smooth transition to their new location, reducing the chances of transplant shock. Roots rely on moisture to absorb nutrients, and without it, the plant will struggle to establish itself.
Watering and Transplanting
- Don’t transplant in the middle of the day: The intense heat and direct sunlight during midday can increase the chances of plants wilting. In these conditions, plants lose water rapidly, and their disturbed roots may struggle to absorb enough moisture to compensate, leading to dehydration. Additionally, direct sunlight can quickly dry out exposed roots during handling, making it harder for them to re-establish in their new environment. Early morning or late afternoon are far better options. Cooler temperatures and gentler sunlight help plants settle into their new homes without the added stress of midday heat. This also allows them to recover and absorb water overnight, preparing them for the day ahead.
- Water in Advance: Water both the plants (or seedlings) and the ground about an hour before transplanting. This ensures the water has time to soak in thoroughly, creating a welcoming, moist environment for the roots.
- Optimal Water Temperature: Use lukewarm water instead of cold to avoid shocking the roots and to help the plant adjust smoothly.
- Carefully Remove Plants: Carefully remove the seedlings from their pots. You want to avoid damaging the plants when they are very young. For larger plants with roots that have overtaken their nursery pots, loosen the root ball gently. We like to say “tickle the roots” because this motion will loosen the roots but should not damage them much. If left root-bound, the roots can struggle to grow outward, potentially choking each other and hindering water and nutrient absorption, so the roots sometimes need a little extra help spreading out in order to take up enough water and nutrients.
- Plant in Prepared Holes: Dig holes in your garden bed that are slightly larger than the plants’ root balls. Position the plants in the holes and backfill with soil to provide stable support.
- Water After Transplanting: Once the plants are in the soil, water them again. This final watering helps the roots settle, removes air pockets, and improves root-to-soil contact, encouraging healthy growth.
- Watering Frequency After Transplanting: Keep the soil consistently moist (but not waterlogged) for the first week or so after transplanting. Adjust based on plant type, weather, and soil conditions to ensure the plants receive the care they need. Most native plants will still need to be watered semi regularly for the first 2 years after planting them until they are established.